
Although printing setup might seem difficult, it is rather simple with Canon printers. This ultimate tutorial is going to help you get your device ready in a jiffy should you not know how to connect Canon printer to laptop.
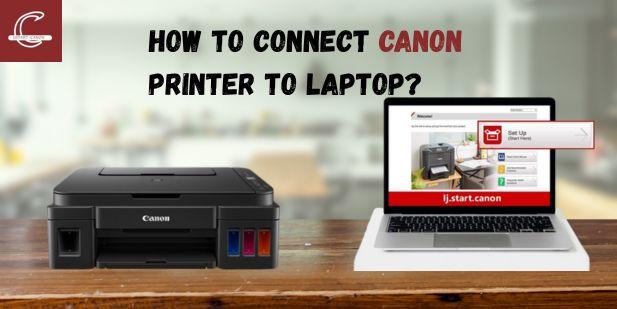
The very first thing to do with the Canon printer setup is to make sure that your laptop is on and working, as well as the printer. Then, visit http://ij.start.canon, the official Canon setup website. This site will allow you to download the drivers and software for your Canon printer model.
Once the site loads, search for your printer model and download the required software. Once you run the setup file, its step-by-step instructions will guide you through the installation process. This application will then cooperate with you to link your laptop to your Canon printer. At this juncture, you'll be given an option to choose either WiFi or USB as the connection type:
For USB connection, plug the cable into your laptop and printer. After identifying the device, the software will complete the installation on its own.
If establishing a wireless connection, ensure that the printer and the laptop are connected to the same Wi-Fi network. Follow the on-screen instructions in the setup wizard to complete the Canon printer setup.
As a final check, print a test page to confirm that all is well.
In short, install your Canon printer on a laptop by obtaining the official drivers at http //ij.start.canon and going through the installation steps.
This will make your installation smooth and seamless, avert compatibility issues, and allow you to use various functions of your Canon printer. This process helps make Canon printer installation a breeze for you, whether at home or in the office.
More details are available on our website.
Warning: Undefined array key "_is_photo" in /home/senmarri/public_html/friend24.in/content/themes/default/templates_compiled/9ea4999d05077b6b690d81624544cd64a51b1299_0.file.__feeds_post.comments.tpl.php on line 27
Warning: Attempt to read property "value" on null in /home/senmarri/public_html/friend24.in/content/themes/default/templates_compiled/9ea4999d05077b6b690d81624544cd64a51b1299_0.file.__feeds_post.comments.tpl.php on line 27
" style="background-image:url(
Warning: Undefined array key "user_picture" in /home/senmarri/public_html/friend24.in/content/themes/default/templates_compiled/19bd7b5d2fc32801d9316dbc2d8c5b25c99e72c3_0.file.__feeds_comment.form.tpl.php on line 31
);">
/home/senmarri/public_html/friend24.in/content/themes/default/templates_compiled/9ea4999d05077b6b690d81624544cd64a51b1299_0.file.__feeds_post.comments.tpl.php on line 128
Warning: Attempt to read property "value" on null in /home/senmarri/public_html/friend24.in/content/themes/default/templates_compiled/9ea4999d05077b6b690d81624544cd64a51b1299_0.file.__feeds_post.comments.tpl.php on line 128
">